
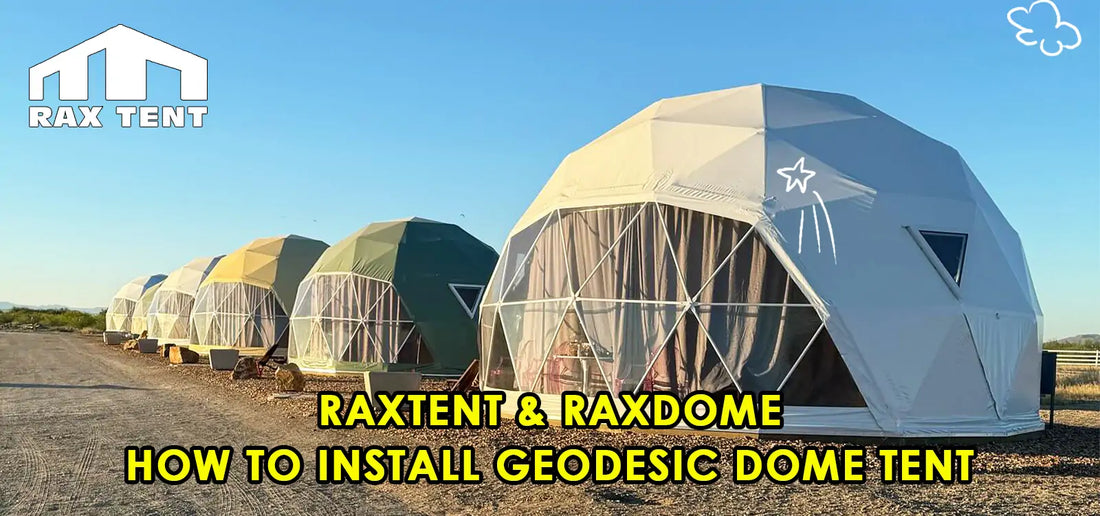
How to Install Geodesic Dome Tent? 6 Steps Quickly Set Up Dome Tent
Today, we will introduce the detailed step-by-step guide of installation the PVC dome tent along with all the accessory systems. The entire installation consists of six steps, after which you’ll have a fully assembled glamping dome tent hotel ready for immediate use.

Step 1: Site Position and Classification of steel tubes
First, determine the installation site of the dome tent, ensuring that the ground is flat and stable. Then, classify the dome tent steel tubes according to their numbering (e.g., 6A, 6B, 6C) and place them in order. As you complete each layer, assemble the pre-arranged components according to the blueprint. This method helps quickly locate the correct parts and improves installation efficiency.
Send Email to us and get more details and price list. Click CONTACT US NOW.

Step 2: Assemble the Dome Frame and Glass Door
Taking a 6 meter diameter dome tent as a reference, small-sized dome tents are installed from the bottom up. Start by determining the position of the first layer of the frame and the door. Then, assemble the structural frame of the dome tent layer by layer, following a pentagonal and hexagonal arrangement. This ensures the structure is stable.
The frame is secured using screws. Before installing the next layer, make sure all screws in the current layer are fully tightened. Additionally, when assembling the frame, pay attention to the positioning of the door connection rods and glass window frames. If the dome tent includes glass windows, install the window frames simultaneously.
Send Email to us and get more details and price list. Click CONTACT US NOW.

Step 3: Installing the Outer Fabric Cover, Aluminum Foil, and Inner Lining thermal insulation
Once the dome tent frame is assembled, the next step is installing the outer fabric, aluminum foil and inside insulation layer.
- Installing the Aluminum Foil Insulation Layer
- The aluminum foil layer is a single-piece covering. Use a rope to pull it from one end of the dome to the other until it fully covers the structure. This process takes less than a minute and is very simple.

2. Installing the Outer Fabric
-
- Similarly, use a rope to stretch out the outer fabric, pulling it from one end to the other while aligning it with the glass door. Ensure that the fabric closely adheres to the dome’s shape. This step takes only a few minutes.

3. Installing the Inner Lining
-
- The inner lining can be installed in two ways: segmented or in one complete piece. Regardless of the method, use the dome tent door position as a reference point and attach the inner lining’s snap caps to the screws on the dome tent. This ensures the inner lining is secure, durable, and visually appealing.

Here are Key Installation Tips:
- One, The external PVC fabric should be secured using J-shaped hooks, tightening it gradually to ensure a smooth, firm, and aesthetically pleasing surface that prevents wind from lifting the fabric.
- Two, The door-edge fabric should be fixed using aluminum strips. Once the outer fabric is in place, press it firmly with aluminum strips to secure it to the door frame, enhancing wind and waterproof capabilities. Trim off any excess fabric.
- Third, Handling Transparent Areas: For the door edges or panoramic viewing areas, trim excess aluminum foil and use customized snap-on fastening tools to secure the foil, inner lining, and frame firmly. This enhances insulation while making the interior more aesthetically pleasing and comfortable.

At this stage, the basic Dome Tent setup is complete. Now, we proceed to installing accessory systems.
Send Email to us and get more details and price list. Click CONTACT US NOW.
Step 4: Installing the Glass Windows
The frame has designated positions for triangular glass windows. The installation steps are as follows:
- Identify the corresponding positions for the glass window frames.
- Cut open the aluminum foil and outer fabric at the window positions for precise fitting.
- Insert the glass windows, apply structural sealant for waterproofing, and secure them firmly.

Send Email to us and get more details and price list. Click CONTACT US NOW.
Step 5: Installing the Exhaust Fan
The outer fabric of the dome tent has a pre-designed exhaust fan opening. The installation process is as follows:
- Align the exhaust fan base with the circular frame opening on the tent.
- Secure the fan using clamps or screws to ensure a firm installation, enhancing ventilation inside the tent.
Send Email to us and get more details and price list. Click CONTACT US NOW.

Step 6: Installing the Curtains
- Attach the curtain track connectors to the designated positions on the dome frame, following the blueprint.
- Install the curtain track and secure it with its fittings.
- Hang the curtains, adjust the track for smooth movement, and ensure easy opening and closing to provide privacy for the dome tent.
Send Email to us and get more details and price list. Click CONTACT US NOW.

With this, the fully equipped dome tent is now complete! Dome tents are widely used in glamping resorts, eco-friendly campsites, and stargazing dome hotels, offering a luxurious outdoor accommodation experience.
Welcome to visit RAXTENT and RAXDOME factory to get more information.
Contact us now.
whatsapp:008613822115092 / 008613929109629.
Email: raxtent@raxtent.com
